Trezor.io/Start Login & Setup Guide – Crypto Security Made Easy
In today’s fast-paced digital world, securing your cryptocurrencies is more crucial than ever. With the increasing threats of online hacks, phishing, and digital fraud, using a hardware wallet like Trezor is one of the safest ways to store your crypto assets. If you're new to Trezor, the first place to begin is Trezor.io/Start, the official onboarding page that guides you through setting up your Trezor wallet.
In this guide, we’ll walk you through the Trezor.io/Start login and setup process, explain the benefits of using Trezor Suite, and help you take the first steps towards total crypto security.
What Is Trezor?
Trezor is a trusted name in the crypto industry, known for its reliable hardware wallets. Developed by SatoshiLabs, Trezor devices store your private keys offline, away from potential internet-based threats. This cold storage solution ensures your digital assets are safe from malware, keyloggers, and phishing attacks.
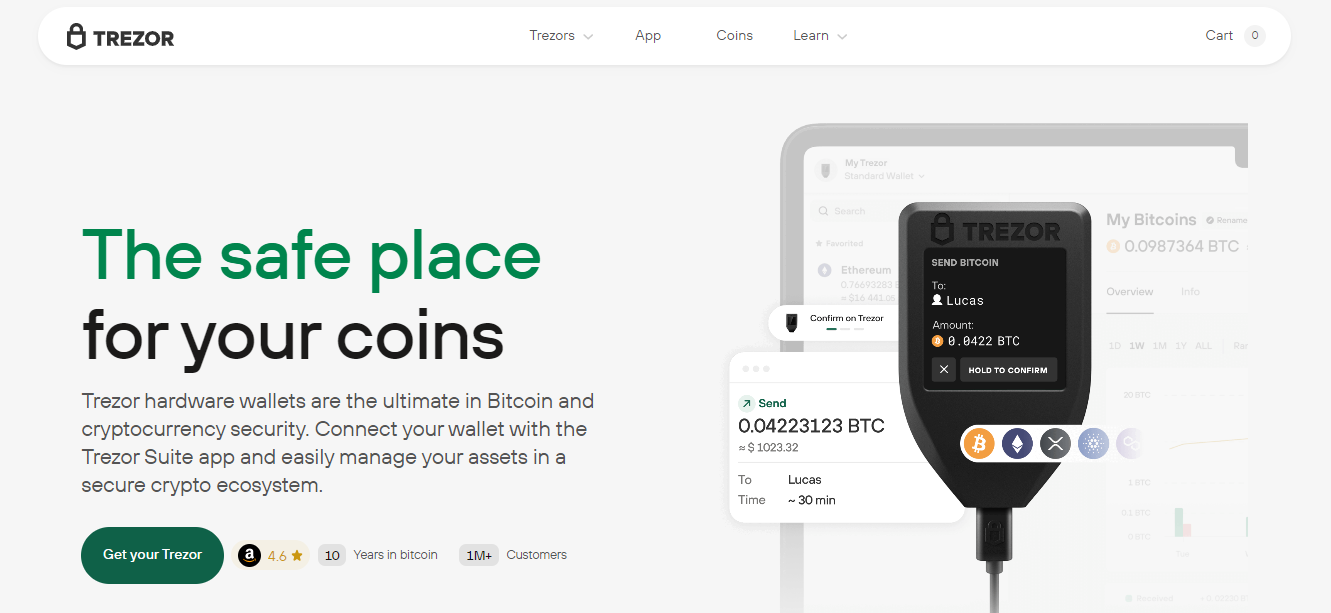
Step-by-Step Guide to Setup via Trezor.io/Start
Step 1: Visit the Official Setup Page
To begin, navigate to the official Trezor onboarding page: https://trezor.io/start. This is the only trusted source you should use to initialize your device and download essential software.
Step 2: Choose Your Device
Trezor offers two primary models – Trezor Model One and Trezor Model T. On the start page, select your device to proceed with the correct setup instructions.
Step 3: Install Trezor Suite
Once you’ve selected your device, you’ll be prompted to install Trezor Suite – the official desktop app designed for wallet management, firmware updates, and secure transactions. Trezor Suite is compatible with Windows, macOS, and Linux.
Step 4: Connect Your Trezor Wallet
After installing Trezor Suite, connect your hardware wallet to your computer using the USB cable. Follow the on-screen prompts to initialize the device. You may be asked to install the latest firmware if your device is brand new.
Step 5: Create a New Wallet
Once connected, Trezor Suite will give you the option to create a new wallet. During this process, you’ll be given a recovery seed – a list of 12 or 24 words. Write these down carefully and store them in a secure offline location. Never share your recovery seed with anyone.
Step 6: Set Up a PIN
To add an extra layer of protection, you’ll set a unique PIN for your Trezor device. This PIN will be required every time you connect your wallet.
Why Use Trezor Suite?
Trezor Suite is more than just a management interface. It offers:
-
Real-time portfolio tracking
-
Advanced coin management
-
Privacy-enhancing tools like Tor integration
-
Secure transactions with on-device confirmation
With a clean and intuitive interface, Trezor Suite makes crypto management seamless, whether you're a beginner or an experienced trader.
Trezor.io/Start Login: What You Need to Know
There’s no traditional “login” at Trezor.io/Start like you’d find on a web app. Instead, your Trezor wallet connects to Trezor Suite, and your credentials are your hardware device and recovery phrase. This approach eliminates risks associated with password-based accounts.
If you're ever prompted to enter your seed phrase online, stop immediately – it’s a phishing attempt. Always verify you are on the official Trezor site and use only Trezor.io links.
Final Thoughts
Setting up your Trezor wallet via Trezor.io/Start is simple and secure. In just a few steps, you can protect your crypto assets from potential online threats and gain peace of mind knowing your investments are safe.
Whether you're storing Bitcoin, Ethereum, or any supported altcoin, using Trezor Suite ensures that managing and safeguarding your assets is easier than ever. Visit Trezor.io today and take the first step toward bulletproof crypto security.